
Quick start
both apps running.
The shortest way from the zip to the wallet on a simulator and the admin panel in Chrome, connected to your own Firebase project. It assumes Flutter and the Firebase CLI are already installed; if not, do Requirements first.
The commands on this page are written for macOS and Linux shells. On Windows, run them in Git Bash or WSL, where they work as written. In PowerShell, set a variable with $env:NAME="value" instead of export. Flutter, Node.js and the Firebase and FlutterFire CLIs run natively on Windows; iOS and macOS builds need a Mac.
01Before you start
flutter doctorshows no red errors for the platform you want to try.firebase --versionandflutterfire --versionanswer.- You have a Firebase project. If not: console.firebase.google.com → Add project. The free plan is enough to look around; the full installation needs Blaze.
The package contains no one else's Firebase settings. Each app ships a placeholder lib/firebase_options.dart: the wallet starts with it but without sign-in, settings, push or PRO checks, and the admin panel shows "Firebase credentials are missing for this build". FlutterFire replaces both files with your own project in step 3. This step is required, not optional.
02The ten minutes
- Unzip and open a terminalPut the folder somewhere without spaces, for example
~/projects/superwallet. - Install packages in both apps
cd crypto_wallet flutter pub get cd ../crypto_wallet_admin flutter pub get - Connect both apps to your Firebase projectLog in once, then pick your project when FlutterFire asks.
Then openfirebase login cd crypto_wallet flutterfire configure --platforms=ios,android,web cd ../crypto_wallet_admin flutterfire configure --platforms=webcrypto_wallet/lib/firebase_options.dartand addstatic const bool isPlaceholder = false;insideclass DefaultFirebaseOptions {. The wallet's start-up code reads that line and the generated file lacks it (details). - Create the app key fileThe wallet reads its API keys from
.env. An empty copy of the template is fine for a first look.cd crypto_wallet cp .env.example .env - Run the walletStart an iOS simulator or Android emulator first (or add
-d chrome).cd crypto_wallet flutter run --dart-define-from-file=.env - Run the admin panelIn a second terminal:
cd crypto_wallet_admin
flutter run -d chrome
03What you should see
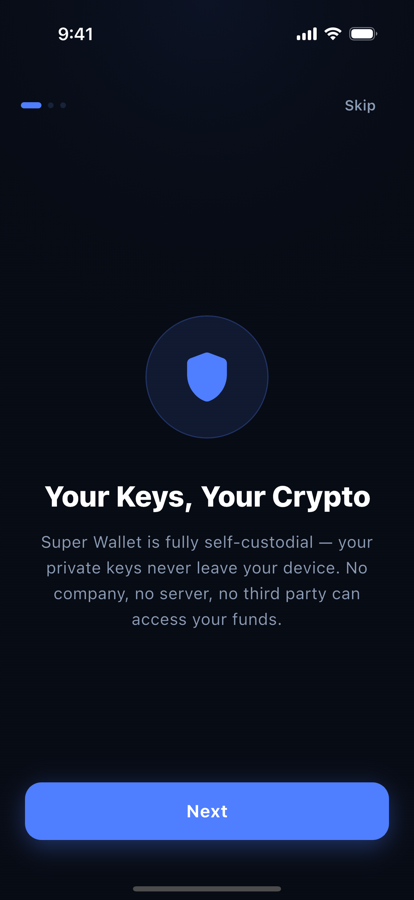
- The wallet opens on onboarding. Create a test wallet and write the seed phrase down; it is a test wallet, but treat it like a real one.
- In a browser the wallet then asks you to set a vault passphrase of at least 10 characters and to repeat it. A browser has no Keychain, so that passphrase is what encrypts the keys there; it is not stored anywhere, and only the recovery phrase can bring the wallet back if you forget it (why). The iOS and Android builds do not ask for it.
- No fee is added to swaps: the fee is off until you set it in the admin (Setting up earnings).
- EVM swap quotes may be marked ~ Indicative via CoinGecko. That is expected: executable quotes need a 0x or 1inch key (how to get one).
- The admin panel shows the Sign In screen. There is no demo or default login. You cannot sign in yet: the first admin is created during the full installation (Installation → First admin).
Continue with Installation: rules, Cloud Functions, the first admin and your keys. Plan about 45 minutes.